Mastering the Art of Drywall Patching
Patching a hole in drywall is a common home repair task that, with the right tools and techniques, can be done efficiently and effectively. Whether it's a small dent or a larger hole, addressing the damage promptly can help maintain the aesthetic and structural integrity of your walls. Here’s a step-by-step guide to help you patch a hole in your drywall like a pro.
Tools and Materials You'll Need
- Utility knife
- Drywall saw
- Sandpaper (medium and fine grit)
- Drywall patch or mesh tape
- Joint compound
- Putty knife
- Drywall screws
- Drywall piece (for larger holes)
- Drill
- Paint (to match the wall)
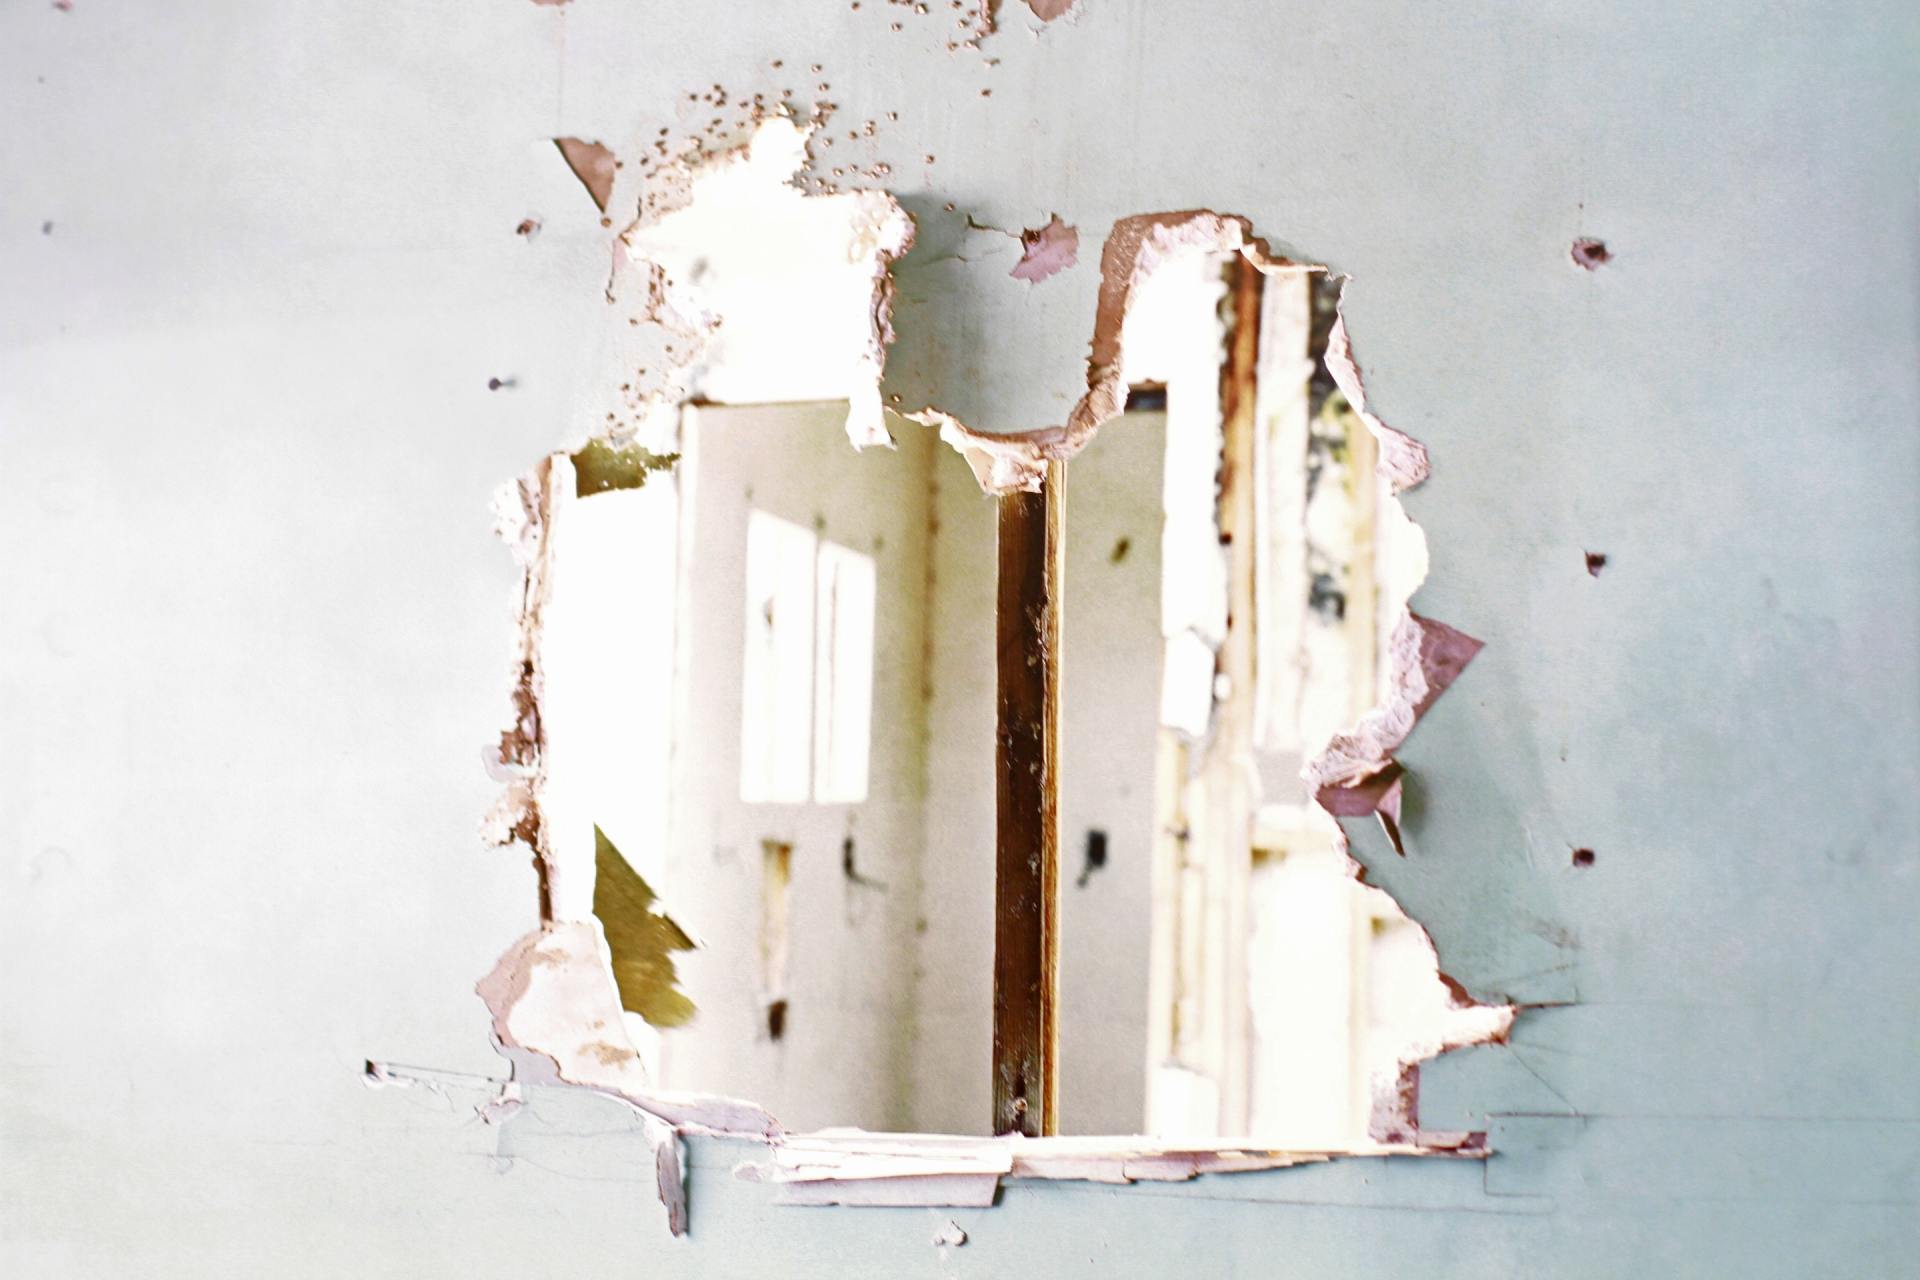
Step 1: Assess the Damage
Before you start, determine the size and extent of the hole. Small holes (up to about 1/2 inch) can be patched with spackle or a pre-made patch, while larger holes will require a more involved repair.
Step 2: Clean and Prepare the Hole
Use a utility knife to clean up the edges of the hole, removing any loose or damaged drywall. This will give you a clean surface to work with and ensure that the patch adheres properly.
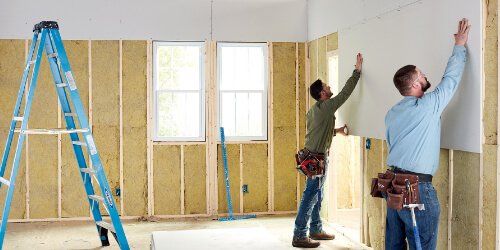
Step 3: Install a Backing Support (For Larger Holes)
For holes larger than 2 inches, you’ll need to provide backing support:
- Cut a Piece of Drywall: Cut a piece of drywall slightly larger than the hole.
- Insert the Drywall Piece: Place the drywall piece into the hole and secure it with drywall screws, ensuring it sits slightly recessed from the surface of the wall.
Alternatively, you can use a piece of wood as backing. Insert the wood behind the hole and secure it with screws.
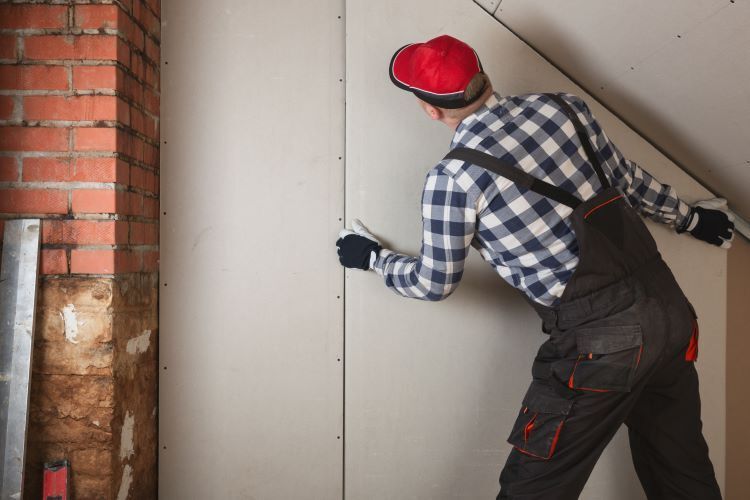
Step 4: Apply the Patch
For small holes:
- Use a Patch: Apply a pre-made patch over the hole. These patches typically come with an adhesive backing and are easy to apply.
For larger holes:
- Apply Mesh Tape: Cover the seams around the hole with self-adhesive mesh tape. This helps reinforce the area and provides a smooth surface for the joint compound.
Step 5: Apply Joint Compound
- First Layer: Using a putty knife, spread a thin layer of joint compound over the patch or mesh tape. Ensure the compound extends slightly beyond the edges of the patch.
- Smooth It Out: Smooth the compound with the putty knife, feathering the edges to blend with the surrounding wall.
- Let It Dry: Allow the first layer to dry completely, usually 24 hours.
Step 6: Sand and Repeat
- Sand the First Layer: Once dry, sand the area lightly with medium-grit sandpaper until smooth. Wipe away dust with a damp cloth.
- Apply Additional Layers: Apply a second and third layer of joint compound, each time feathering the edges further out. Allow each layer to dry and sand between applications for a smooth finish.
Step 7: Final Sanding and Finishing
- Fine Sanding: Once the final layer is dry, sand the area with fine-grit sandpaper to achieve a seamless blend with the existing wall.
- Wipe Clean: Wipe away any dust with a damp cloth.
Step 8: Prime and Paint
- Prime the Area: Apply a primer to the patched area. This helps seal the joint compound and prepare it for painting.
- Paint: Once the primer is dry, paint the area to match the rest of the wall. You may need to apply multiple coats for an even finish.
Conclusion
Patching a hole in drywall is a straightforward process that can be tackled with some basic tools and a bit of patience. By following these steps, you can achieve a professional-looking repair that seamlessly blends with your existing walls. However, if you’re dealing with extensive damage or prefer a flawless finish, consider reaching out to the experts at Regina Drywallers.
Our professional team in Regina, Saskatchewan, is equipped to handle all your drywall repair needs, ensuring your walls look as good as new. Contact us today for a consultation and let us help you restore the beauty of your home.
You Might Also Enjoy:
Contact Us!